Search Knowledge Base by Keyword
Set Up Zip
Prerequisites
The following Prerequisites are required before you can establish a Zip Account. This process will take between 15-30 minutes to complete.
- An active C2 Point Central Seat
- The C2 Point Central Account number provided in the Welcome Letter. Please check your email for this info as it was provided with the logon info for Point Central.
- A Credit Card.
A Note on Fees billed by Calyx
In May of 2020 Calyx dropped the cost of a completed Zip Application from $10 to $3. If a Borrower completes the Zip Borrower Interview and clicks SUBMIT at the end of the online interview, the credit card on file will be charged $3 and an email alert will be provided requesting the 1003 data is synced with Point. An example of this interview is available at: https://michaelasurmanian.zipforhome.com/ If the link is never provided to a Borrower the card will not be charged.
Regardless as to how the 1003 was generated, Ink-IT may be used to request electronic signatures. Once activated unlimited Ink-IT requests may be made over a 90 day period for a $3 charge. At the end of the 90-day period, calyx will email to inform Ink-It period has expired. If electronic signatures from Ink-IT are required after 90 days the card will be charged another $3 for the next 90 days.
Once a ZIP account is established it may be used to request and retrieve documents using the Calyx Document Manager for Free.
Setting Up a Zip Account
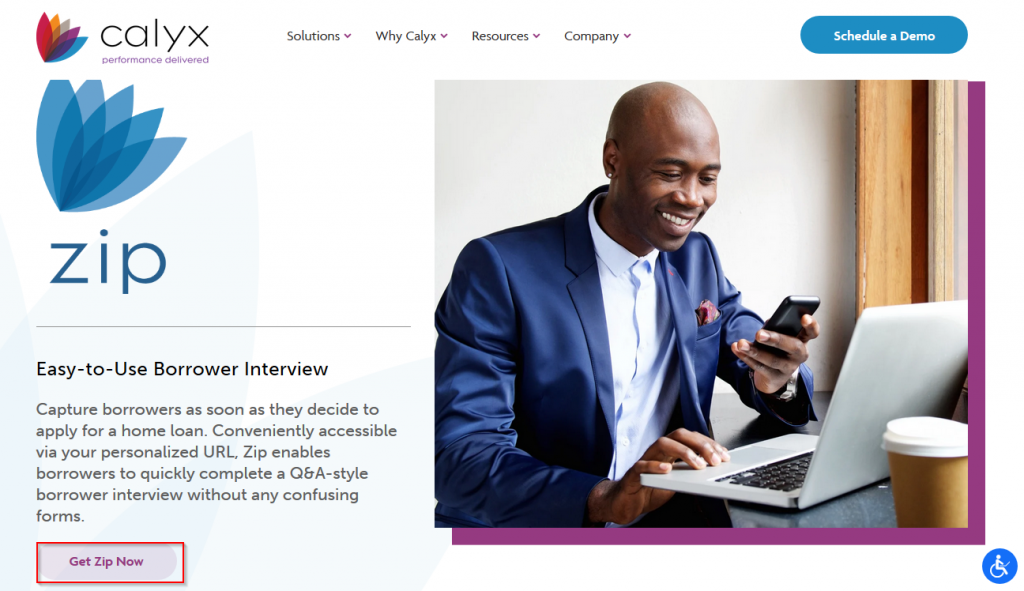
Direct Link: https://onlineorder.zipforhome.com/order/order1?LOS=POINT
2. Click on the button that says Get Zip Now.
3. Enter the C2 Point Account Number and your contact info. Please Note: This information will be made public as part of the Zip Website.

4. Click Next to accept the License Agreement.
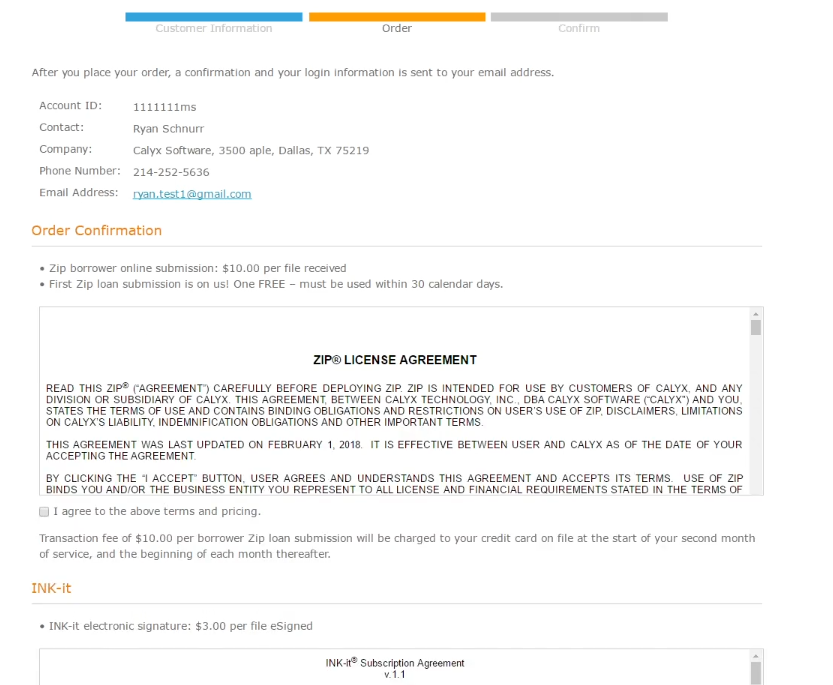
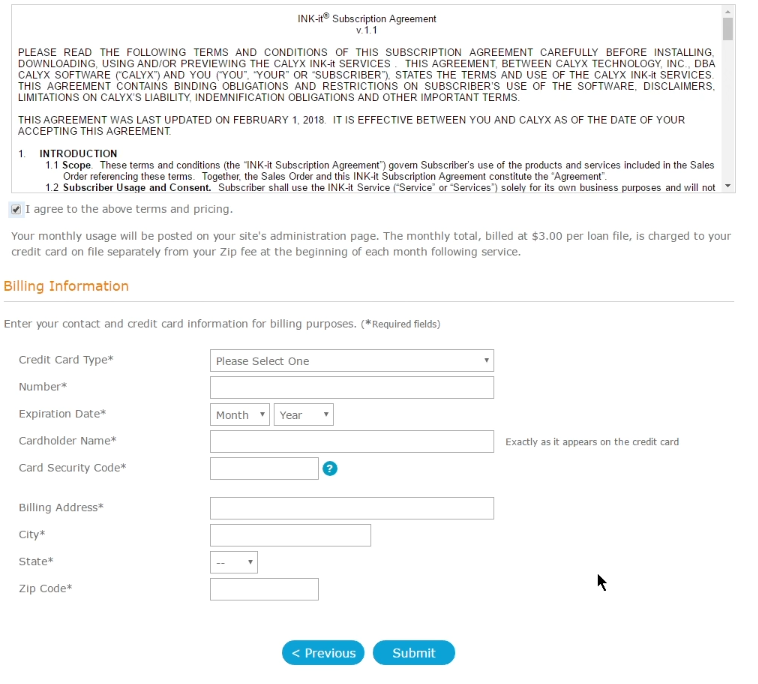
5. Enter the Credit Card information and click Submit.
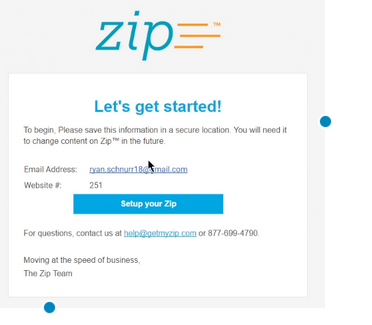
6. Check your email for a Zip Welcome Letter. This email will contain:
- Zip Username (email address)
- Zip website URL to provide to Borrowers
- Zip Website Number
****DO NOT DELETE THIS INFORMATION – Save it for future reference****
7. Click Setup your Zip and follow the steps to create a Password.
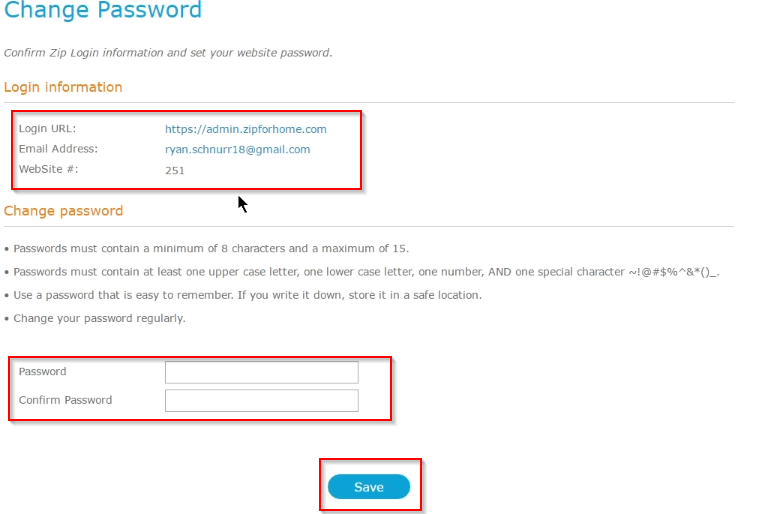
8. Create a strong Password, then click Save.
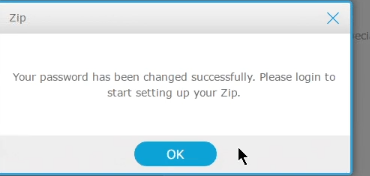
9. Click OK.
10. The site will redirect to the Zip Administration Website.
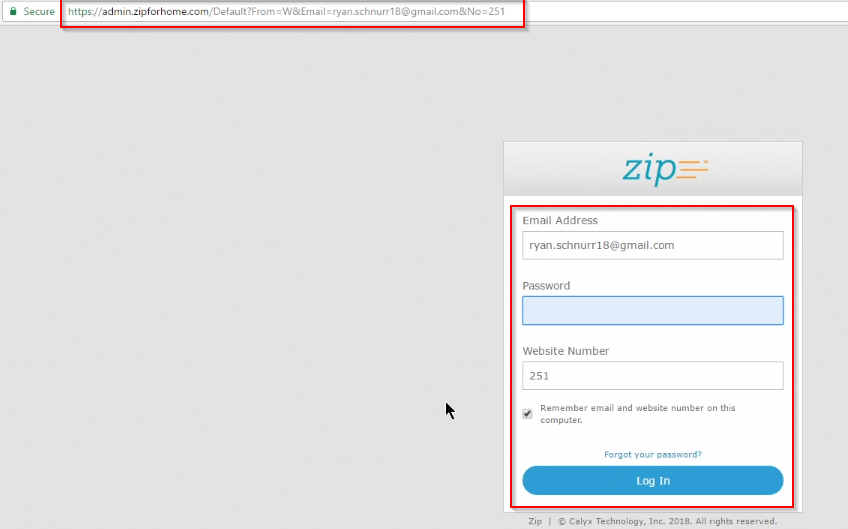
11. Enter Credentials to Logon.
Customizing the Zip Account
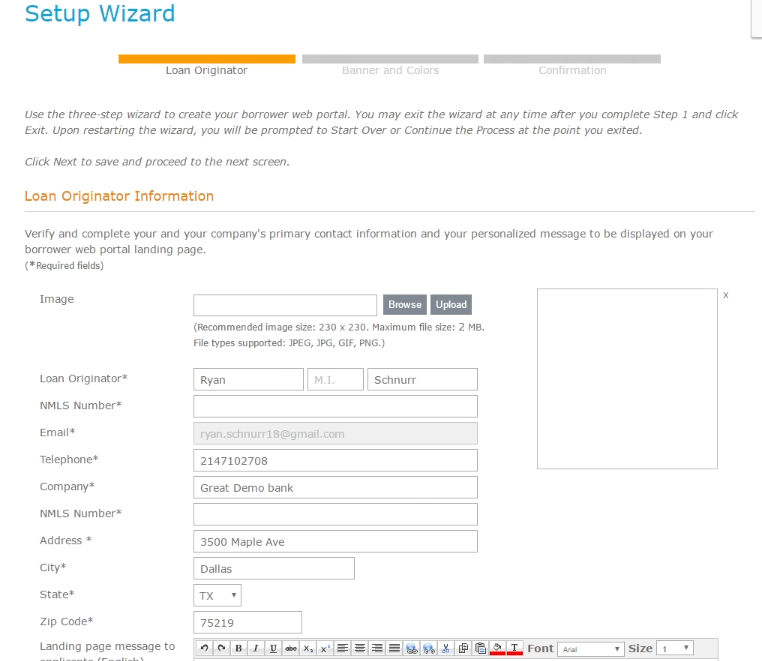
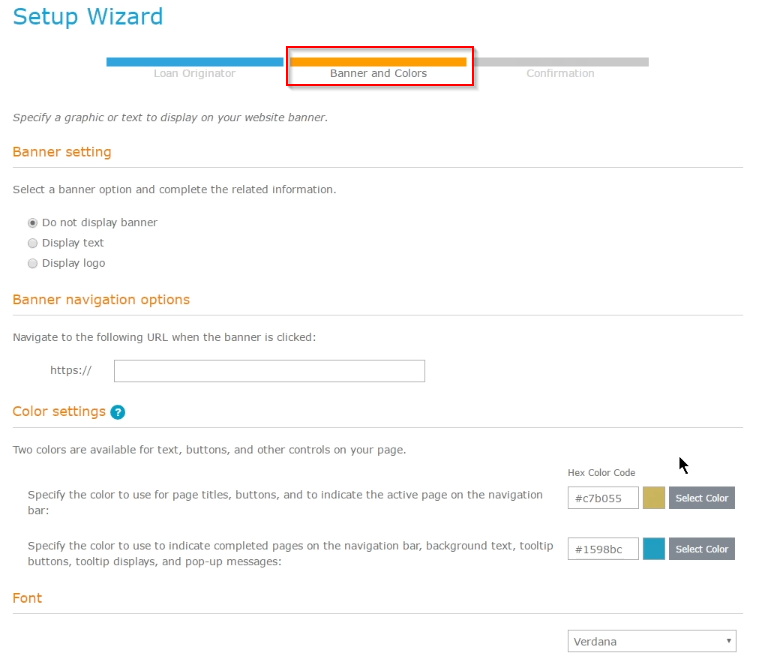
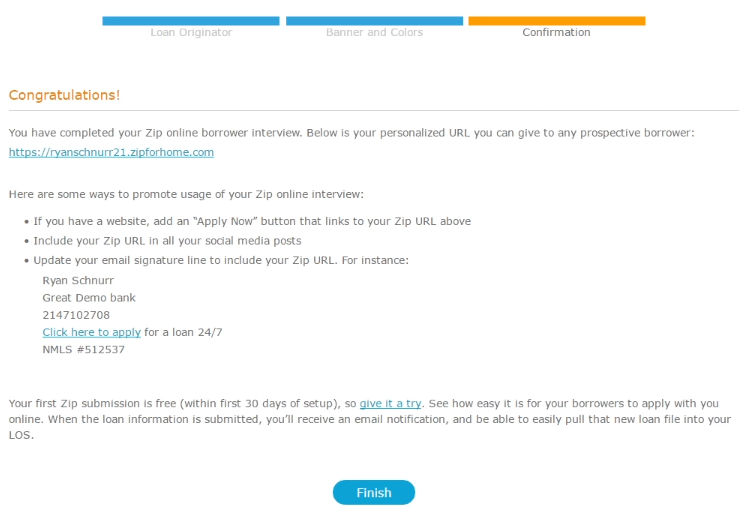
Once a Zip account is established it, the look and feel can be customized via the Setup Wizard.
- Validate and add additional information as needed and click Next.
2. Adjust Banner and Color Schemes and click Next.
3. Complete the Borrow Interview configuration and click Finish.
Syncing your Zip Account with Point
Once the Zip configuration is complete the account information has to be entered into Calyx Point Central.
- Login to Point
- Navigate to the Work-in-Progress (WIP) Folder
- Click Utilities –> Zip/WebCaster Preferences
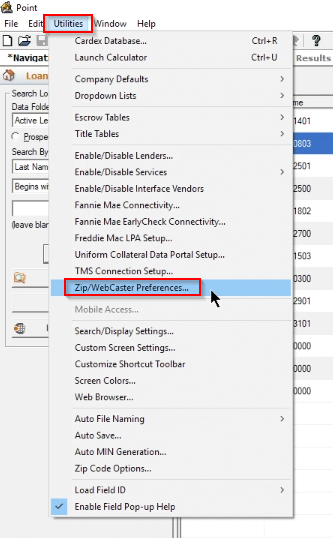
4. Ensure the Circle at the top of the screen is set to Zip.
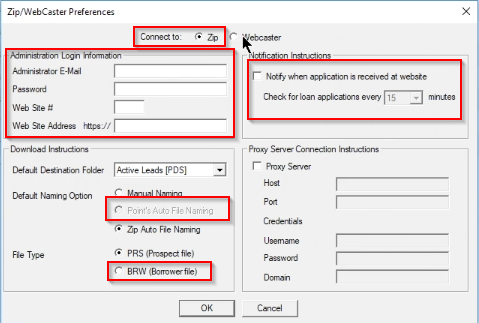
5. Using the information from the Zip Welcome Email and the Password established fill out the form.
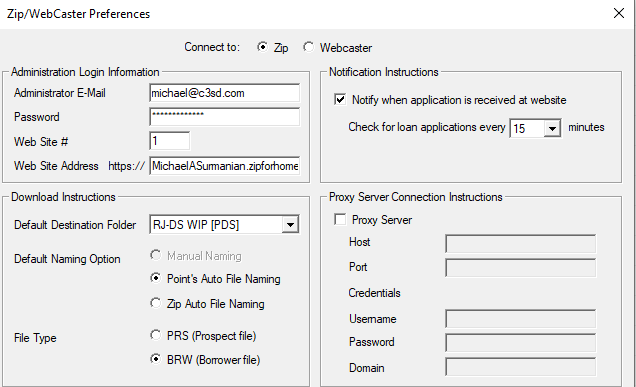
Example of a completed form.
6. Then press OK.
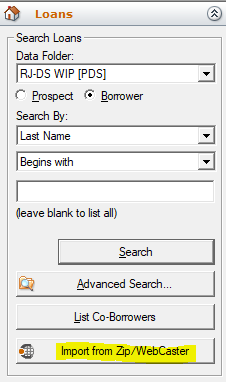
When a Borrower completes an interview and clicks Submit you will receive an email to the email address associated with your Zip account. When you do, click the Import from Zip/WebCaster button to import the data.