
Search Knowledge Base by Keyword
The POINT Workflow
Calyx Point Access Rights
Access to files stored in Point will be made available to yourself and the members of your team you allow, no one else. Changes can be requested at any time by emailing the Support Desk and will be implemented within 2 Business days.
Initial Configuration
Point Configuration: C3SD will configure Point with two folders for each Loan Officer or Team: Completed & WIP: Work in Progress as we have found these two folders work for most. If your team requires additional Point Central folders please contact the Support Desk to discuss. You are granted full access to each of the folders allowing you make changes to both the files and settings in the folders. This may become necessary when updating information, if say for instance you will process a loan through another company.
Additional Configuration: The first two sections; Company Default Information and Dropdown Lists in Chapter 3 of the Point User’s Guide discusses how to customize Point for individual needs. As part of the setup we have added your NMLS number and Name but most Lenders will also require that additional contact information is added. Chapter 3 will provide additional insight.
Understanding the POINT Workflow
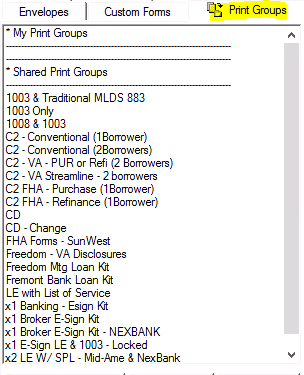
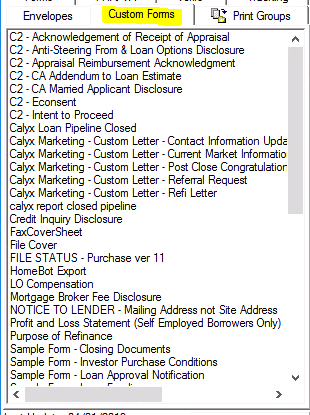
POINT on the C2C3 Cloud has been pre-configured with useful C2 Templates, Forms and Print Groups. In order to use these items, it is important to start your File in a particular way.
Differences between WIP (Work in Progress) and COMPLETED:
WIP should be used for current files and once the file has been completed it should be MOVED to your COMPLETED Folder. You can switch between the two Folders using the Drop-down.
Please Note: It is important to define which folder to work from early on as some settings in Point are applied at the Folder Level. As an example if a Loan Originator is added to the LO Drop-down list via Utilities–> Drop-Down–> Loan Originates while reviewing files in the Completed Folder the information will not be present when opening a file from the WIP folder.
Other Settings that are not carried over:
- Processor Names
- Contact Information
- Credit
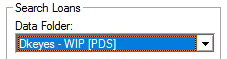
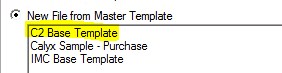
In order to access the C2 Base Template the Radio Button must be set to BORROWER. As you find when a new File is created using the C2 Base Template it will show as Loan Status PROSPECT. As the Loan ‘moves” through the process the Loan Status will adjust automatically.

If you feel the need to create a File with the PROSPECT Radio Button selected, please understand you will not have access to the C2 Base Template. If you MOVE the file to BORROWER you can apply the C2 Base Template using steps found on the Support Site as discussed below.
To create a new File using the C2 Base Template select NEW and then C2 Base Template

To access the Print Groups or Custom forms, once a File is open click File –> Print
To MOVE a file highlight it and click the MOVE button. Then determine its new home using the provided options.
